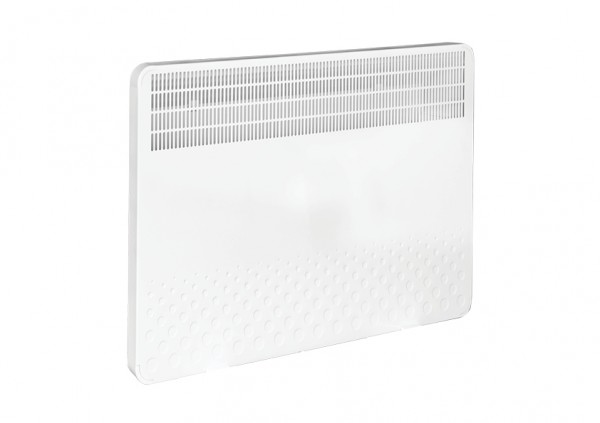
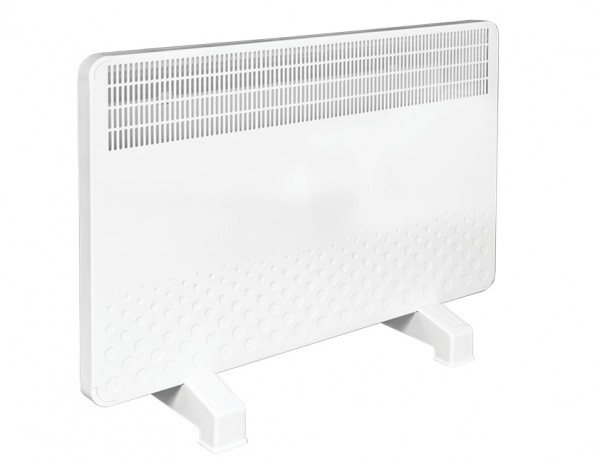
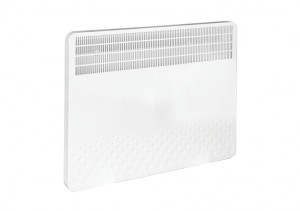
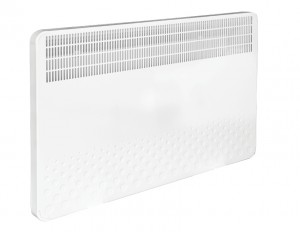
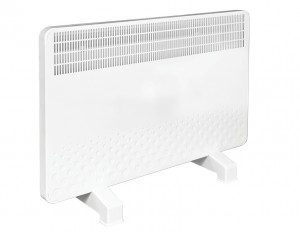
Solaris Professional Convector Heater


Adaptive Start Feature
This feature can only be used for the weekly program. If this feature is activated, your unit will start heating at a time depending on the difference between the ambient temperature and the desired temperature when the designated automatic power-on time is close.
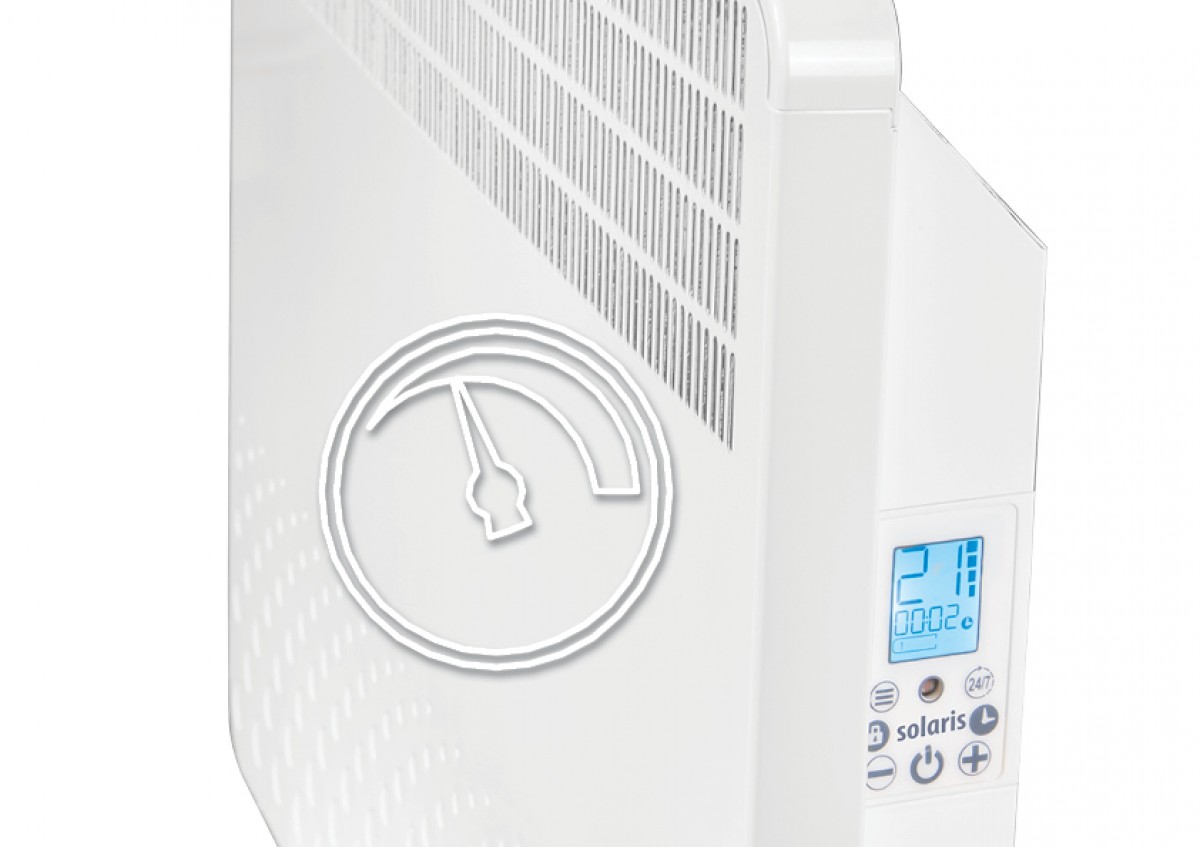
Energy Consumption Monitoring
This indicates how many hours the heater’s resistor has been operational. To access that information, press and hold the menu button for approximately six seconds. The blinking value on the display indicates the total operating time of the resistor. The energy consumption of the heater can be estimated based on this value.
Energy Consumption (kWatt/hour) = Value on the Screen x Power of the Unit (Watt) / 1000

Daily and Weekly Program
There are two types of programs: daily and weekly. Only one of them can be activated at the same time. If the heater is turned on for the first time or if it has not been changed, the daily program will be activated when the unit turns on. The daily program can be used to turn the heater on or off.
You can set two different programs: weekdays and weekends. This mode is used to set the heater to the desired temperature for the designated time. You can adjust the temperature setting for 12 different hours (6 + 6) for weekdays and weekends.

The heat requirement depends on factors such as the exterior temperature, room heat isolation, door open/close cycles. The values stated on the above table are for average conditions with an outside temperature of 8-10 degrees therefore when calculating the heater power these factors should be taken into consideration.
|
Solaris Electric Convector Heater |
|||
|
Type |
Professional Electric Convector Heater |
||
|
KIP4550P10 |
KIP4570P20 |
KIP4570P25 |
|
|
Height mm |
450 |
450 |
450 |
|
Length mm |
500 |
700 |
700 |
|
Depth mm |
80 |
80 |
80 |
|
Weight kg |
4,6 |
5,8 |
5,8 |
|
Electrical Power W |
910-1085 |
1825-2150 |
2300-2700 |
|
Voltage V |
220-240 |
220-240 |
220-240 |
|
Current A |
4,3 |
8,7 |
10,9 |
|
Frequency Hz |
50-60 |
50-60 |
50-60 |
|
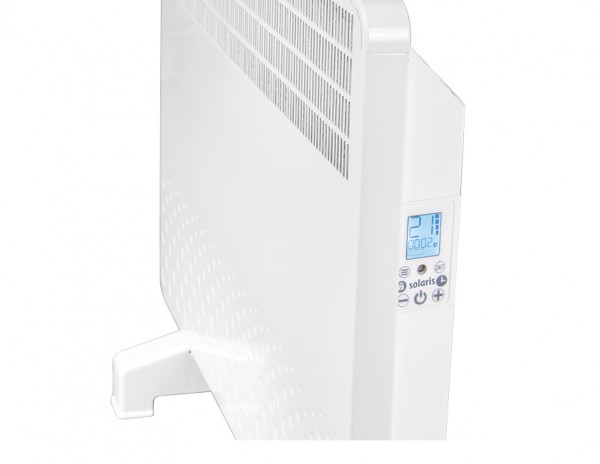
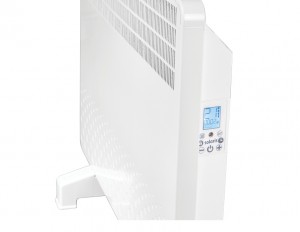
Electronic Room Temperature Control |
Standard |
Standard |
Standard |
|
On / Off Switch |
Standard |
Standard |
Standard |
|
Cord Length m |
1.5 |
1.5 |
1.5 |
|
Protection Type |
I |
I |
I |
|
Thermostat Against Excessive Heat |
Standard |
Standard |
Standard |
|
Mechanical Thermostat Control |
- |
- |
- |
|
Power Consumption Indicator |
Standard |
Standard |
Standard |
|
Room Temperature Display |
Standard |
Standard |
Standard |
|
Daily Program |
Standard |
Standard |
Standard |
|
Weekly Program |
Standard |
Standard |
Standard |
|
Adaptive Start |
Standard |
Standard |
Standard |
|
Energy Consumption Monitoring |
Standard |
Standard |
Standard |
|
Plastic Legs |
Standard |
Standard |
Standard |
|
Wall Mounting Kit |
Standard |
Standard |
Standard |
|
Color Choices |
White |
White |
White |
|
Standard |
: |
EN 60335-2-30:2009 - EN 60335-1:2012 |
|
Material Structure |
: |
Cold Rolled Steel Iron. body: 0.80 mm, frame: 1.00 mm. |
|
Surface process |
: |
Our radiator has been produced in our modern facilities through surface cleaning + phosphatizing followed by being painted with water-based primer and electrostatic powder paint coating, and baked in 200°C without human touch. |
|
Color |
: |
RAL9016 (Standard) |
|
Heating Unite Group |
: |
Aluminium Insulated Coil Heaters and convectors |
|
Quality Standard |
: |
CE, ECODESIGN, TS EN ISO 9001:2015 |
|
Heights |
: |
450 mm |
|
Lengths |
: |
500-700 mm |
|
Security |
: |
The product goes to functional test, earth loop continuity check, high voltage breakdown and leak current mesurement tests. |
|
Guarantee |
: |
2 Year |
Real Time Clock
As long as the unit is connected to the power, the timer setting is saved even when it is switched off. The timer setting is lost six hours after the heater is unplugged or a power outage.
Energy Consumption Monitoring
This indicates how many hours the heater’s resistor has been operational. To access that information, press and hold the menu button for approximately six seconds. The blinking value on the display indicates the total operating time of the resistor. The energy consumption of the heater can be estimated based on this value.
Energy Consumption (kWatt/hour) = Value on the Screen x Power of the Unit (Watt) / 1000
Types of Programs
There are two types of programs: daily and weekly. Only one of them can be activated at the same time. The daily program is used to turn the heater on or off at the desired time. The weekly program is used to set the desired temperature for the designated time. You can optimize energy consumption by setting high and low temperatures for times when heating is required or not required.
Daily Program
If the heater is turned on for the first time or if it has not been changed, the daily program will be activated when the unit turns on. The daily program can be used to turn the heater on or off. Press and hold the menu and time buttons at the same time for about three seconds to activate this mode. When this mode is activated, “00 of” is displayed. Press and hold the timer button to set the desired time for the heater to be turned off. When this mode is activated, “00 of” is displayed while the heater is switched off. Press and hold the timer button to set the desired time for the heater to be turned on.
Weekly Program
You can set two different programs: weekdays and weekends. This mode is used to set the heater to the desired temperature for the designated time. You can adjust the temperature setting for 12 different hours (6 + 6) for weekdays and weekends. Press and hold the menu and 24/7 buttons at the same time for about three seconds to activate this mode. When this mode is activated, the display shows the actual time and day. Press either the timer or 24/7 button to display the hour and set temperature for the next program. The next program will be flashing on the display for three seconds. When the unit is switched off, the weekly program operates in the background but does not activate heating. When the weekly program is activated, the target temperature can be adjusted manually. When it is time for the next program to be activated, the manually adjusted value is changed into the target temperature designated for that program. If you do not want to use the weekly program, you should switch to the daily program mode.
Weekly Program Settings
Switch off the heater using the power switch on the side. Switch on the heater while pressing and holding the 24/7 button. “hPro” appears on the heater’s display for approximately six seconds. Then, the time setting for the first weekday program, weekdays and the desired temperature start flashing on the display. When they are flashing, you can set the desired temperature value for the designated time using the plus and minus buttons. To change the time of the program, press the time button and the program’s time indicator will start flashing. When it is flashing, you can set a time for the program using the plus and minus buttons. The unit does not allow you to set a time that overlaps with the time of either the previous or the next program. Use the time button to toggle between the set temperature value and the time of the program. Press the 24/7 button to set the time for the next program. These steps are repeated five more times. When you press the 24/7 button again, the display shows you the weekend instead of weekdays. Following the same steps, you can set a program for six different hours for the weekend. When you press the 24/7 button after the final adjustment, the unit will automatically restart and display the normal operation screen. Make sure that the actual time displayed is correct so that the weekly program can work accurately.
Time Settings
Switch off the heater using the power switch on the side. Switch on the heater while pressing and holding the time button . “tSEt” appears on the heater’s display for approximately six seconds. Then, the hour section starts flashing. When it is flashing, you can set an hour for the program using the plus and minus buttons. When you press the time button again, the minute section starts flashing. You can set the minute using the plus and minus buttons. When you press the time button again, the days of the week start flashing. You can set a day for the program using the plus and minus buttons. You can toggle between hours, minutes and days of the week by pressing the time button . Press and hold the on/off button for three seconds to save and exit. Afterwards, the unit will continue to operate normally.
Adaptive Start Feature
This feature can only be used for the weekly program. When the unit is set to automatic power-on without this setting, it switches on at the designated time and provides heating. However, it will take some time for the unit to reach the designated temperature. This causes inconvenience for the user due to the delay in heating. The adaptive start feature is designed to prevent this. If this feature is activated, your unit will start heating at a time depending on the difference between the ambient temperature and the desired temperature when the designated automatic power-on time is close. This feature ensures that the ambient temperature is at the desired temperature at the designated time. (The Adaptive Start Feature does not guarantee that the ambient temperature will be exactly at the designated temperature at the time set for the program. Because the environment in which the device is placed has many factors that make heating difficult in practice such as thermal insulation, doors and windows left open, a very large volume, and heat leakage.)
The instructions below must be followed in order for this feature to work with maximum efficiency:
1. Selecting the power according to the space where the unit is placed, 2. Keeping the doors and windows closed and preventing other leaks, if any. 3. Ensuring thermal insulation in the environment where the unit is placed, 4. Setting the adaptive start parameters accurately.
Default values: “P 01” : 20 min and “P 02”: 5 hours. At least one of these parameters must be set to 0 to deactivate this feature.
Adaptive Start Parameters
This feature has two parameters. The first parameter is the duration for early automatic power-on per degree. (This value is set with the parameter “P 01”.) This duration is measured in minutes. It can be set from 0 to 40 minutes. The unit calculates how early it should start heating by multiplying this parameter value by the difference between the current ambient temperature and the target temperature. For example, if the unit is set to switch on at 09.00 at 23 degrees Celsius in the weekly program, if the ambient temperature is 19 degrees Celsius and if the parameter is set to 20 minutes per degree Celsius, the time for the unit to start heating is calculated using the following formula:
Heating Time = Program Time - (Target Temperature - Current Temperature) x Parameter Value = 09:00 – (23 – 19) x 20
= 09:00 – 80 min. (1 hour 20 min.) The time to start heating = 07:40. So, the unit starts to heat 80 minutes (1 hour 20 minutes) earlier than the designated time.
If the unit is on, if the adaptive start feature is activated and if the unit switches on earlier to start heating, “A 23” will appear on the display when you press and hold the plus
or minus button for three seconds. The number 23 represents the target temperature value that you set and it will display your designated temperature.
If the plus or minus button is pressed while the adaptive start is deactivated, the unit will only display “23”.
The other parameter is to set a limit for the early automatic power-on time. Even if the early power-on time calculated above exceeds this parameter value, the unit will not start heating before the time set with this parameter. (This value is set with the parameter “P 02”.) This parameter is measured in hours. It can be set from 0 to 5 hours.
Adaptive Start Parameter Setting
(“P 01” and “P 02”)
Switch off the heater using the power switch on the side. Switch on the heater while pressing and holding the menu button “ASEt” appears on the heater’s display for approximately six seconds. “P 01” will start flashing on the display. The plus and minus buttons can be used to switch to the other parameter (“P 02”). Press the menu button to change the value of the desired parameter. The parameter value will appear on the display, and the desired value can be set using the plus and minus buttons. If you press the menu button again, you can change the parameter again. Press and hold the on/off button for three seconds to save your settings and exit. Afterwards the unit will continue to operate normally.
Guarantee
1. The Guarantee Period commences upon the delivery of the unit and is 2 years.
2. The unit is completely within the guarantee coverage of our Company including all the parts thereof.
3. If the unit breaks down within the guarantee period thereof due to material or labor deficiency the repair will be made without any cost requirements under the title of labor cost, replaced part cost or any other title.
4. The customer may request the replacement of the unit, refunding, reduction in price pro rata to the defect under following conditions even if the consumer has used the repair right thereof:
- If the same defect repeats twice within one year as from the delivery of the unit to the client within the predetermined guarantee period or more than four breakdowns occur due to different reasons or if the total amount of the breakdowns due to different reason exceed 6 times causing the prevention of the usage of the unit continuously within the predetermined guarantee period
- If the maximum repair period is exceeded
- If it is determined by the service station or to the seller, dealer, agent, representative, importer or to the producer/manufacturer thereof if a service station does not exist, with a report that the repair of the unit is not possible
5. Breakdowns due to usage other than the ways specified in usage manual of the unit is out of guarantee coverage.
Footer
We have been working for comfortable and smarter heating solutions since 1976.


-
Address
Nilüfer Organize Sanayi Bölgesi, Nilüfer Bulvarı No: 3 16145 Bursa - TÜRKİYE
Location
Working hours : 08:30 - 18:15 - E-mail mastas@mastas.com marketing@mastas.com
- Telephone +90 224 411 11 14
